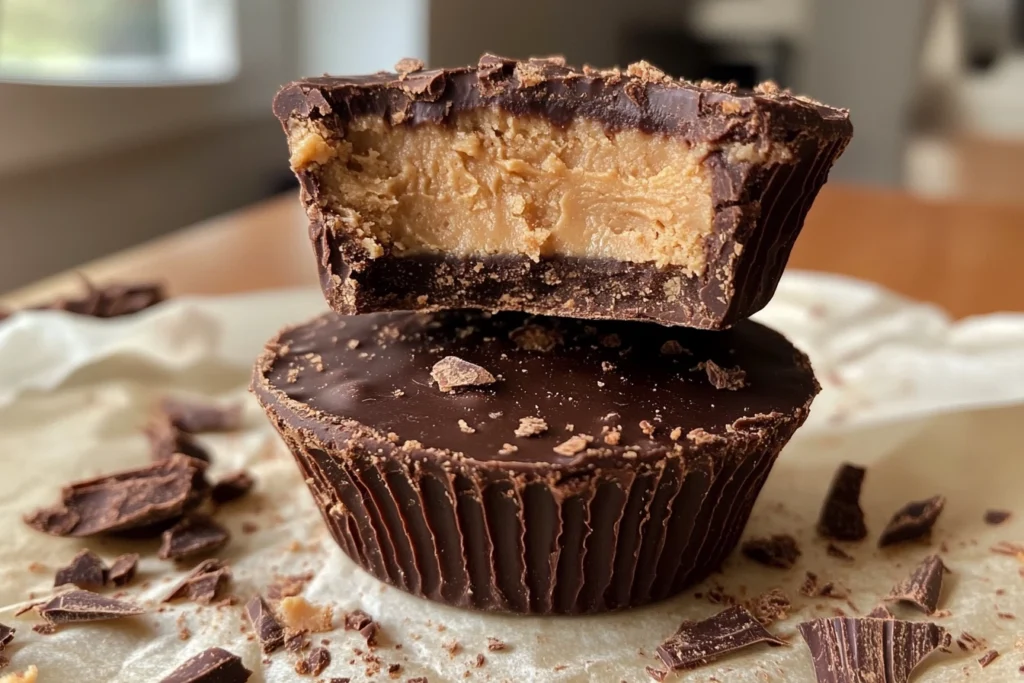
Homemade peanut butter cups are one of those rare desserts that feel both nostalgic and endlessly customizable. There’s something magical about the way creamy, slightly salty peanut butter melts into rich chocolate—especially when you make them yourself. And let’s be honest: store-bought versions just can’t compete with the taste (and love) you can pack into each little cup at home.
Whether you’re after an easy homemade peanut butter cups recipe, looking for a no-bake version, or searching for a dessert that fits your vegan or gluten-free lifestyle, this guide has you covered. For more guilt-free dessert ideas, check out our Late Night Food: Healthy Options And Tips For Night Cravings article.
So grab your spatula and a spoon—because once you taste your own homemade peanut butter cups, you might never go back to the store-bought kind again.
The Classic Homemade Peanut Butter Cups

There’s a reason why peanut butter cups have stood the test of time: they’re ridiculously delicious, easy to make, and perfect for gifting (or, let’s be real—hoarding in the fridge). This classic version keeps things simple but full of flavor.
Ingredients You’ll Need:
For the chocolate shell:
- 2 cups semi-sweet or milk chocolate chips
- 1 tbsp coconut oil (for a smoother, glossy finish)
For the peanut butter filling:
- 1 cup creamy peanut butter (unsweetened or lightly sweetened)
- ¼ cup powdered sugar
- 2 tbsp graham cracker crumbs (optional, for texture)
- Pinch of salt (especially if using unsalted peanut butter)
Equipment:
- Muffin tin (standard or mini)
- Paper liners or silicone molds
- Heatproof bowl + saucepan (double boiler setup) or microwave-safe bowl
Step-by-Step Instructions:
1. Melt the Chocolate
Using a double boiler or microwave in 30-second bursts, melt the chocolate chips and coconut oil until smooth and pourable. Stir often to prevent scorching.
2. Make the Filling
In a small bowl, mix peanut butter, powdered sugar, graham cracker crumbs (if using), and a pinch of salt. Stir until well combined—it should be thick but scoopable.
3. Assemble the Cups
- Line each muffin tin with a paper or silicone cup.
- Spoon about 1 tsp of melted chocolate into each liner and tilt or tap the pan gently so the chocolate coats the bottom.
- Place the tray in the fridge or freezer for 5–10 minutes to firm up.
4. Add the Peanut Butter Layer
Once the bottom layer has set, scoop a small spoonful of the peanut butter mixture into each cup. Flatten gently with the back of the spoon.
5. Top with More Chocolate
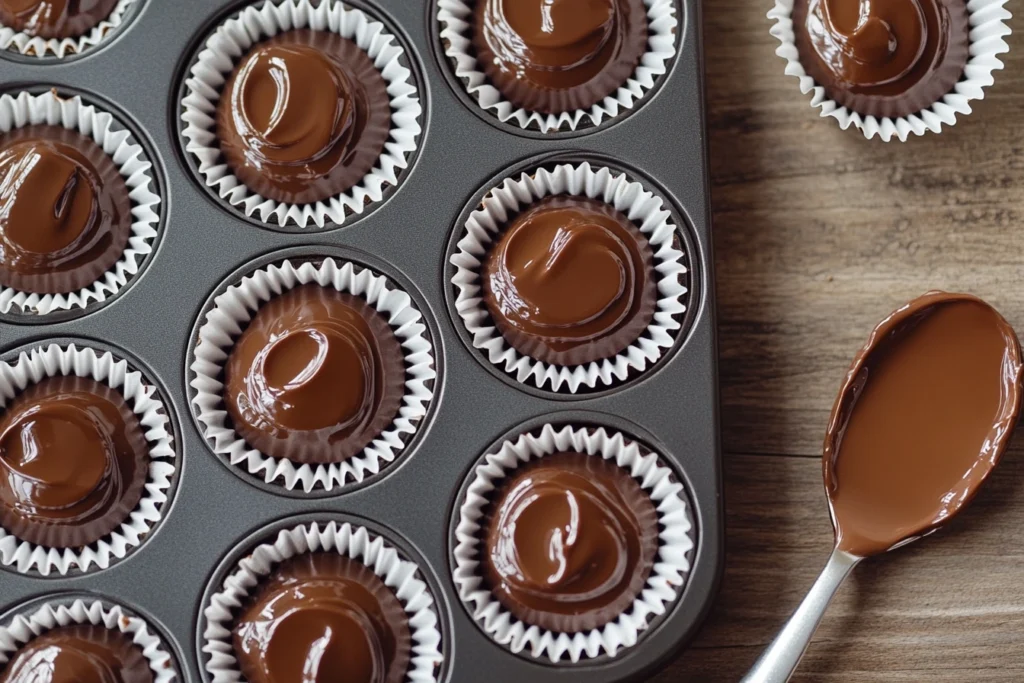
Spoon another layer of melted chocolate over each peanut butter mound, making sure to cover it fully. Tap the tray again to smooth the tops.
6. Chill Until Set
Refrigerate or freeze until firm—about 30 minutes in the fridge, 15 in the freezer.
7. Enjoy or Store
Once set, peel off the liners and enjoy! Store in an airtight container in the fridge for up to 2 weeks…if they last that long.
Easy No-Bake Peanut Butter Cups Recipe

When the chocolate craving hits and you don’t want to turn on the oven, this easy homemade peanut butter cups recipe is your answer. It’s fast, flexible, and foolproof—perfect for busy days, late-night sweet tooth moments, or spontaneous dessert missions.
Why You’ll Love This No-Bake Peanut Butter Cups Recipe
- No oven needed – Just melt, mix, and chill.
- Quick to make – From mixing bowl to fridge in 20 minutes.
- Freezer-friendly – These store like a dream for future cravings.
No-Bake Ingredients:
Chocolate Shell:
- 1½ cups dark or semi-sweet chocolate chips
- 1 tbsp coconut oil
Filling:
- ¾ cup creamy peanut butter
- 2 tbsp maple syrup or agave nectar
- 2 tbsp coconut flour or oat flour (for thickening)
- Pinch of salt
Pro Tip: Use mini muffin tins for bite-sized treats or standard tins for a bigger peanut butter-to-chocolate ratio.
How to Make No-Bake Peanut Butter Cups:
- Melt Chocolate:
Use the microwave or a double boiler to melt chocolate and coconut oil together until smooth. - Prep the Filling:
Stir peanut butter, maple syrup, coconut flour, and salt in a small bowl. It should be thick but pliable. - Assemble the Layers:
- Spoon melted chocolate into muffin liners and chill for 10 minutes.
- Add a dollop of peanut butter filling and gently flatten.
- Top with remaining chocolate, smoothing the surface.
- Chill & Set:
Pop the tray into the fridge or freezer until firm (about 30 minutes). - Enjoy:
Peel back the liners and dive into your no-bake bliss.
Whether you call them no-bake peanut butter cups, lazy-day lifesavers, or freezer treasures—they’re a go-to treat that delivers flavor without the fuss.
Vegan Homemade Peanut Butter Cups

+ Gluten-Free Peanut Butter Cups Recipe
If you or your loved ones have dietary needs, you’ll be thrilled to know that vegan homemade peanut butter cups and gluten-free peanut butter cups recipes are just as indulgent as the original.
These recipes use simple swaps to make this dessert inclusive without compromising on taste, texture, or that perfect chocolate-peanut butter balance.
How to Make Vegan Peanut Butter Cups:
Ingredients:
- 1½ cups dairy-free dark chocolate chips (look for 70% cacao or higher)
- 1 tbsp coconut oil
- ¾ cup natural peanut butter
- 2 tbsp maple syrup or date syrup
- 2 tbsp almond flour or oat flour
- Pinch of sea salt
Make sure all ingredients are certified vegan and dairy-free.
Method:
- Follow the same layering technique as the no-bake version.
- Chill in the fridge or freezer until firm.
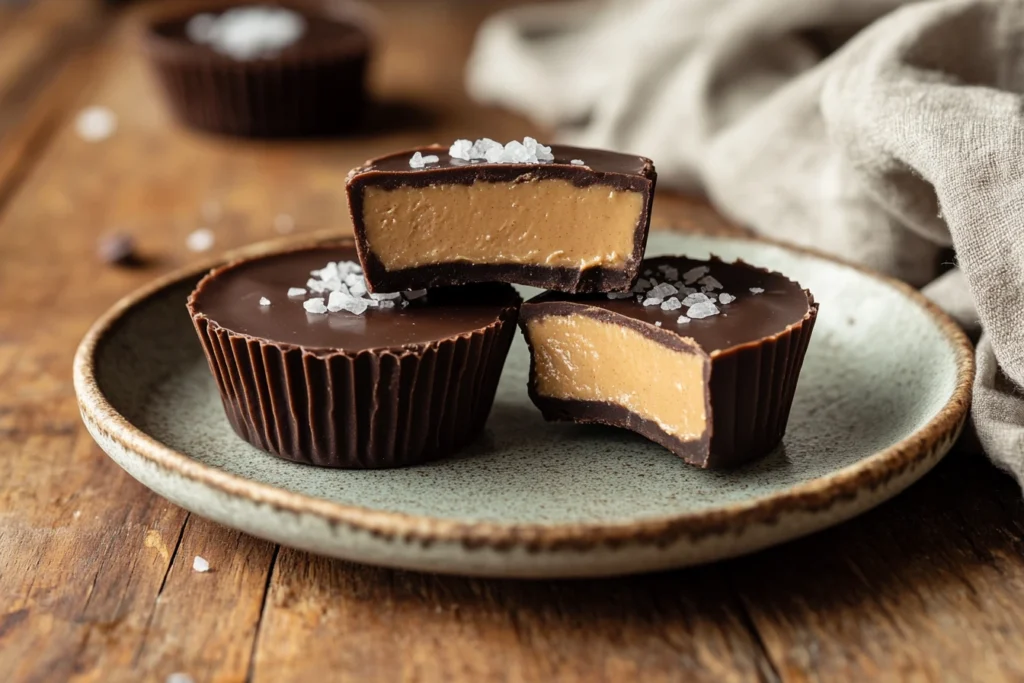
- Add a sprinkle of flaky sea salt on top for a sweet-salty finish.
Gluten-Free Peanut Butter Cups Recipe Tips:
- Choose gluten-free chocolate chips (some are processed with gluten otherwise).
- For thickening the filling, use coconut flour, almond flour, or gluten-free oat flour.
- If using graham cracker crumbs for texture, ensure they’re certified gluten-free (or skip entirely).
These gluten-free peanut butter cups recipes are perfect for school lunchboxes, potlucks, or a cozy evening snack. No one will miss the gluten—promise. For another delicious gluten-free snack, try our Cottage Cheese Flatbread Recipe: High-Protein and Gluten-Free.
Dark Chocolate Peanut Butter Cups (Homemade and Extra Indulgent)
If you’ve ever found milk chocolate just a little too sweet, these dark chocolate peanut butter cups (homemade) might be your new obsession. For another take on this classic treat, check out this Homemade Peanut Butter Cups Recipe. The bittersweet bite of rich dark chocolate pairs beautifully with the creamy, slightly salty peanut butter center. It’s a grown-up twist on a childhood favorite.
Why Dark Chocolate?
- Bolder flavor – Less sugar means you taste more of the cocoa and the nutty peanut butter.
- Healthier profile – Dark chocolate contains antioxidants and less added sugar.
- Perfect for pairing – Try it with red wine, black coffee, or even a smoky bourbon.
Dark Chocolate Peanut Butter Cup Ingredients:
- 1½ cups dark chocolate chips (70–85% cacao)
- 1 tbsp coconut oil
- ¾ cup natural peanut butter
- 2 tbsp powdered sugar or maple syrup
- 1 tbsp almond flour or oat flour
- Pinch of flaky sea salt (for topping, optional)
Assembly:
Follow the same method as the classic or no-bake peanut butter cups—melt the chocolate, layer the filling, chill until set. But here’s a pro move: sprinkle a little flaky sea salt on top before chilling for that crave-worthy sweet-salty contrast.
These dark chocolate peanut butter cups homemade are perfect for gifting, special occasions, or just keeping a secret stash in the freezer for yourself.
Tips & Tricks for Perfect Homemade Peanut Butter Cups
Whether you’re going for the classic or trying a vegan homemade peanut butter cups variation, these tips will help you get the best texture, flavor, and presentation—every single time.
1. Use Good-Quality Chocolate
The better the chocolate, the better the result. Look for chips or bars labeled fair trade, organic, or couverture-quality for a smooth, rich finish.
2. Keep It Cold
Always chill between layers and before serving. This helps the chocolate set beautifully and prevents melting or separating. Store your homemade peanut butter cups in the fridge for up to 2 weeks—or freeze for longer!
3. Adjust Sweetness Based on Chocolate Type
- Milk chocolate? Go lighter on the sugar in the filling.
- Dark chocolate? A little extra maple syrup or powdered sugar balances the bitterness.
4. Get Creative with Add-Ins
- Crushed peanuts for crunch
- Mini chocolate chips in the filling
- Chia seeds for added texture
- Or even a dab of raspberry jam for a PB&J vibe!
5. Use a Silicone Mold for Easy Release
If you’re skipping liners, silicone molds make it a breeze to pop the cups out once set.
Frequently Asked Questions (FAQs)
1. How should I store homemade peanut butter cups?
Your homemade peanut butter cups are best stored in an airtight container in the refrigerator. They’ll stay fresh for up to 2 weeks. For longer storage, freeze them and thaw as needed—just 5 minutes at room temp and they’re good to go!
2. Can I use other nut butters instead of peanut butter?
Absolutely. Almond butter, cashew butter, or sunflower seed butter all work well, especially for a nut-free or allergy-friendly version. Just adjust the sweetener and salt to balance the flavor.
3. Are these gluten-free?
Yes—as long as your ingredients are! Be sure to use gluten-free chocolate and double-check items like graham crumbs or flavorings. Our gluten-free peanut butter cups recipe swaps in almond or coconut flour for a safe, satisfying bite.
4. Do I have to use coconut oil?
Nope. Coconut oil just helps give the chocolate a glossy finish and softer texture. You can leave it out or use a neutral oil like avocado or even a little butter (if not vegan).
5. Can I make these ahead for events or gifts?
Totally. In fact, homemade peanut butter cups are even better the next day. They set more firmly and the flavors meld together. Wrap them in mini cupcake wrappers and store in decorative tins for the cutest edible gifts!
Final Thoughts
Making homemade peanut butter cups isn’t just about creating a sweet treat—it’s about bringing joy, comfort, and creativity into your kitchen. Whether you’re diving into an easy homemade peanut butter cups recipe, trying your hand at a no-bake version, or exploring vegan and gluten-free options, there’s a version here for every craving and every lifestyle. For another delicious recipe, visit Homemade Peanut Butter Cups by I Am Baker.
So the next time you’re tempted to grab that store-bought pack, remember: you’ve got all the power (and peanut butter) you need to make something even better—right at home.
