1. Introduction
When it comes to chocolate-making, one key question often arises: how, exactly, can you make chocolate bars hard? Naturally, this is a crucial step in creating professional-quality confections. Achieving the right hardness is essential for creating a shiny surface, a satisfying snap, and a professional finish. Not only do hard chocolate bars look better, but they also last longer because they resist melting and maintain their structure effectively.
This guide answers the question of how to make chocolate bars hard by exploring proven techniques like tempering, quick-cooling methods, and troubleshooting. Whether you’re a home cook exploring new recipes or a professional chocolatier perfecting your craft, this article provides all the essential tools you need to achieve perfectly hardened chocolate bars.
2. Understanding Chocolate Composition
The process of making chocolate bars hard starts with understanding the composition of chocolate itself. The ingredients and structure of chocolate play a pivotal role in determining its texture, appearance, and durability.
2.1 The Science Behind Chocolate Hardening
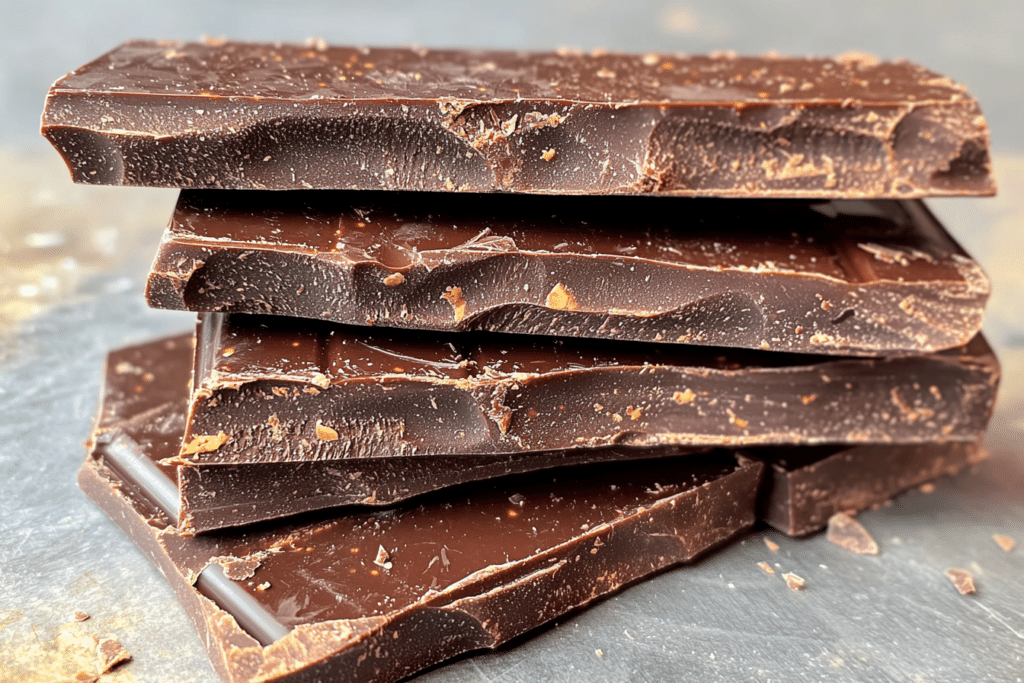
Chocolate hardens primarily through a process called crystallization. Specifically, this happens when the cocoa butter in chocolate forms stable crystal structures, giving it the desired firmness and gloss.
- Cocoa Butter’s Role: Cocoa butter, a key fat in chocolate, has multiple crystalline forms. Only one of these forms (the Beta crystal) creates the hard, glossy finish seen in professional chocolate bars.
- Tempering: By carefully controlling the temperature during both the melting and cooling phases, you can encourage the formation of Beta crystals. As a result, your chocolate will harden properly and achieve the ideal texture and shine.
Quick Fact: Without proper tempering, chocolate may remain soft, develop white streaks (bloom), or lose its characteristic snap.
2.2 Types of Chocolate and Their Properties
Different types of chocolate behave differently during the hardening process:
- Dark Chocolate: Contains a high percentage of cocoa solids and cocoa butter, making it easier to temper and harden.
- Milk Chocolate: Has added milk solids and sugar, which can interfere with crystal formation, requiring more precise tempering.
- White Chocolate: Lacks cocoa solids, relying entirely on cocoa butter, making it prone to over-heating and bloom.
Pro Tip: Always choose high-quality chocolate with a high cocoa butter content for the best hardening results. Discover how exotic ingredients can affect chocolate properties in our guide What Is Dubai Chocolate Bar Made Of?
3. Methods to Make Chocolate Bars Hard
Achieving perfectly hardened chocolate bars requires the right techniques. Whether you’re aiming for a professional finish or, alternatively, a quick solution at home, the methods below will expertly guide you through the process.
3.1 Using the Tempering Process

Tempering is the most reliable method for hardening chocolate. It ensures a glossy finish, firm texture, and resistance to bloom. To understand the intricacies of tempering chocolate, visit The Science of Tempering Chocolate
Step-by-Step Guide to Tempering Chocolate:
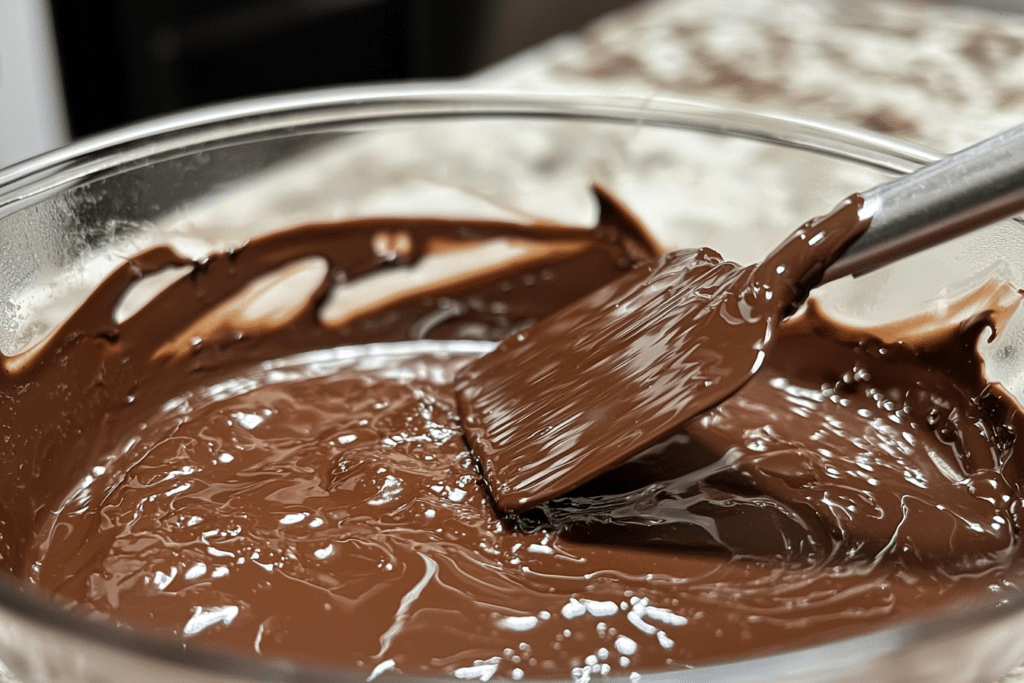
- Melting the Chocolate:
- Use a double boiler to gently melt the chocolate.
- Heat dark chocolate to 113°F–120°F (45°C–49°C), milk chocolate to 104°F–113°F (40°C–45°C), and white chocolate to 100°F–104°F (37°C–40°C).
- Cooling the Chocolate:
- Pour the melted chocolate onto a marble slab or stir it in a bowl.
- Cool to 80°F–82°F (27°C–28°C) for dark chocolate and slightly higher for milk and white chocolate.
- Reheating for Crystallization:
- Reheat the chocolate gently to working temperatures:
- Dark: 88°F–90°F (31°C–32°C)
- Milk: 86°F–88°F (30°C–31°C)
- White: 84°F–86°F (29°C–30°C).
- Reheat the chocolate gently to working temperatures:
Tools You’ll Need:
- Candy thermometer or infrared thermometer for precise temperature control.
- Marble slab for cooling.
- Spatula for stirring and spreading.
Common Tempering Mistakes:
- Overheating: Can burn the chocolate and ruin its flavor.
- Water contamination: Even a drop can cause the chocolate to seize.
3.2 Quick Hardening Methods

For those short on time, quick methods can help chocolate bars harden faster. While they may not provide the same level of polish as tempering, they’re useful for simple projects.
Using a Freezer or Refrigerator:
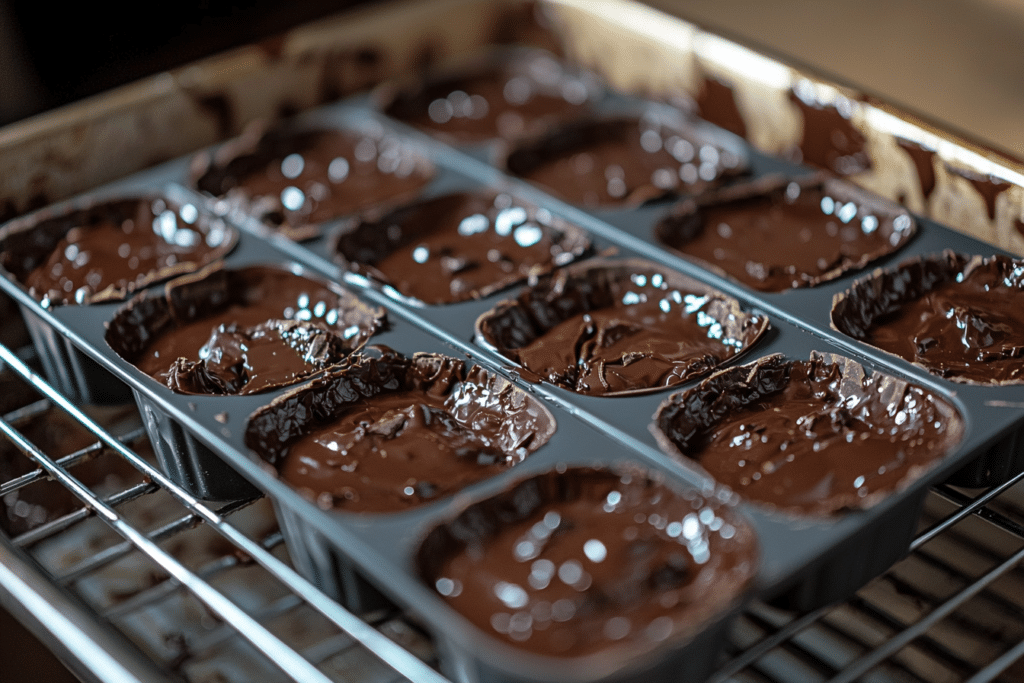
- Pour melted chocolate into molds.
- Place the molds in the freezer for 10–15 minutes or in the refrigerator for 20–30 minutes.
- Ensure the temperature is consistent to avoid condensation.
Adding Stabilizers:
- Incorporate a small amount of cocoa butter or vegetable shortening into melted chocolate to improve its firmness.
Pros and Cons of Quick Methods:
- Pros: Faster results, minimal equipment required.
- Cons: Prone to bloom and less glossy finish compared to tempered chocolate.
Pro Tip: Always allow chocolate to return to room temperature gradually after hardening to avoid moisture build-up. Try incorporating techniques from our Dubai Chocolate Bar Recipe for unique hardening ideas.
4. Tips and Tricks for Perfectly Hard Chocolate Bars
Achieving consistently hard and glossy chocolate bars requires attention to detail and the right techniques. These tips and tricks will help you master the process.
4.1 Maintaining Consistent Temperatures
Temperature control is crucial when hardening chocolate. Fluctuations can lead to issues like streaks or uneven texture.
Tips for Consistent Temperatures:
- Use a Double Boiler: Melting chocolate over simmering water ensures gentle, even heat.
- Microwave Technique: If using a microwave, heat the chocolate in 15-second intervals, stirring each time to prevent overheating.
- Room Temperature Considerations: Always work in a cool, dry environment to maintain stability.
Pro Tip: Invest in a good candy thermometer or an infrared thermometer for precise readings.
4.2 Choosing the Right Mold and Environment

The choice of mold and the environment where you work can impact the hardness and appearance of your chocolate bars.
Selecting the Right Mold:
- Material: Silicone molds are flexible and easy to release, while polycarbonate molds create a shinier finish.
- Shape: Choose molds with smooth surfaces to prevent air bubbles and uneven edges.
Creating an Ideal Environment:
- Humidity Control: Keep humidity below 50%, as moisture can cause bloom and affect texture.
- Room Temperature: Work in a space between 65°F and 70°F (18°C–21°C) for the best results.
Pro Tip: Lightly grease molds with a neutral oil for easier release if you’re not using silicone. Explore tips for selecting the best molds in this Guide to Choosing Chocolate Molds.
5. Common Problems and How to Solve Them
Making chocolate bars hard can sometimes lead to unexpected challenges. Understanding these common problems and their solutions will ensure successful results every time.
5.1 Chocolate That Won’t Harden
Causes:
- Improper Tempering: Without correct temperature control, the chocolate’s crystals won’t form properly, resulting in a soft texture.
- High Humidity: Moisture in the air interferes with the hardening process.
- Poor-Quality Chocolate: Lower-grade chocolate often contains additives that prevent proper crystallization.
Solutions:
- Reheat and Retemper: Gently melt the chocolate again and repeat the tempering process to stabilize it.
- Add Stabilizers: Mix a small amount of cocoa butter or tempered chocolate into the batch to restore structure.
- Use Dehumidifiers: If humidity becomes an issue, it is important to work in a controlled environment. Alternatively, you can use a dehumidifier to minimize moisture and ensure better results.
Pro Tip: To achieve the best hardening results, it is always advisable to use couverture chocolate. This is because its high cocoa butter content promotes better crystallization and a smoother finish. For detailed solutions to tempering problems, refer to How to Fix Chocolate Tempering Issues.
5.2 Preventing Bloom and Texture Issues
Bloom refers to the whitish or gray streaks that appear on chocolate. It can occur due to fat or sugar rising to the surface.
Types of Bloom:
- Fat Bloom: Caused by improper tempering or temperature fluctuations during storage.
- Sugar Bloom: Occurs when moisture interacts with the sugar, causing it to crystallize on the surface.
Solutions for Bloom Issues:
- Fat Bloom: Ensure chocolate is tempered correctly and stored in a cool, stable environment.
- Sugar Bloom: Store chocolate in an airtight container to protect it from moisture.
Additional Tips:
- Avoid sudden temperature changes, especially during cooling.
- Do not place freshly hardened chocolate directly into humid or warm areas.
Learn more about balancing texture in other treats with our article Make Cookies Chewy Instead Crunchy.
6. FAQs About Making Chocolate Bars Hard
Here are answers to some of the most common questions about hardening chocolate bars, categorized under relevant subheadings for better readability.
6.1 Troubleshooting Hardening Issues
Why doesn’t my chocolate harden properly?
Chocolate may not harden properly for several reasons. For instance, incorrect tempering, excessive humidity, or the use of low-quality chocolate can all interfere with the hardening process. Repeating the tempering process and working in a controlled environment can help.
Can I fix over-tempered chocolate?
Yes. Gently reheat the chocolate to its melting point and repeat the tempering process to restore its texture and appearance.
6.2 Choosing the Right Chocolate and Tools
Can I use any type of chocolate for making bars?
Yes, but the results can vary significantly. For example, dark chocolate is easier to temper because of its simpler composition. In contrast, milk and white chocolates require more precision due to the added milk solids and sugar that complicate the process.
What tools do I need for tempering chocolate?
You’ll need a double boiler, candy thermometer or infrared thermometer, spatula, and optionally, a marble slab for cooling.
6.3 Hardening Methods and Storage
Does freezing affect chocolate’s taste or texture?
Freezing chocolate can lead to condensation, which may cause sugar bloom. Always allow the chocolate to return to room temperature gradually after freezing.
How long does it take for chocolate bars to harden?
- At room temperature: 30–45 minutes.
- In the refrigerator: 20–30 minutes.
- In the freezer: 10–15 minutes.
6.4 Achieving Professional Results
What is the ideal temperature range for hardening chocolate?
- Dark chocolate: 88°F–90°F (31°C–32°C)
- Milk chocolate: 86°F–88°F (30°C–31°C)
- White chocolate: 84°F–86°F (29°C–30°C)
Can homemade chocolate achieve the same hardness as commercial chocolate?
Yes, with proper tempering and high-quality ingredients, homemade chocolate can achieve a professional-level hardness and finish.
What is the difference between tempering and quick cooling?
Tempering involves controlled heating and cooling to stabilize cocoa butter crystals, resulting in a glossy, hard finish. Quick cooling, such as using a freezer, can harden chocolate much faster. However, this method often leads to dullness and bloom, which may compromise the appearance and texture.
How do I prevent my chocolate from sticking to molds?
Lightly grease the molds with a neutral oil or ensure the chocolate is properly tempered to make it easier to release.
7. Conclusion
Making perfectly hardened chocolate bars truly combines both an art and a science. Indeed, mastering this process requires patience, precision, and practice. By understanding the composition of chocolate and mastering techniques like tempering, you can create bars with a glossy finish, firm texture, and satisfying snap. Whether you choose professional methods or, alternatively, quick fixes, paying close attention to detail is absolutely key to achieving the desired results.
Dubai’s chocolate experts rely on precise temperature control, high-quality ingredients, and ideal storage conditions to achieve perfection. With the tips and solutions provided, you now have the tools to tackle common challenges and experiment with confidence.
Whether you’re crafting chocolate bars as a hobby or for professional purposes, the process itself is equally as rewarding as the results. Furthermore, each step brings you closer to mastering this delicious skill. Embrace the journey, and enjoy the delicious creations that come from your hard work.
